Signing up to AWS is very straightforward, from the following link:
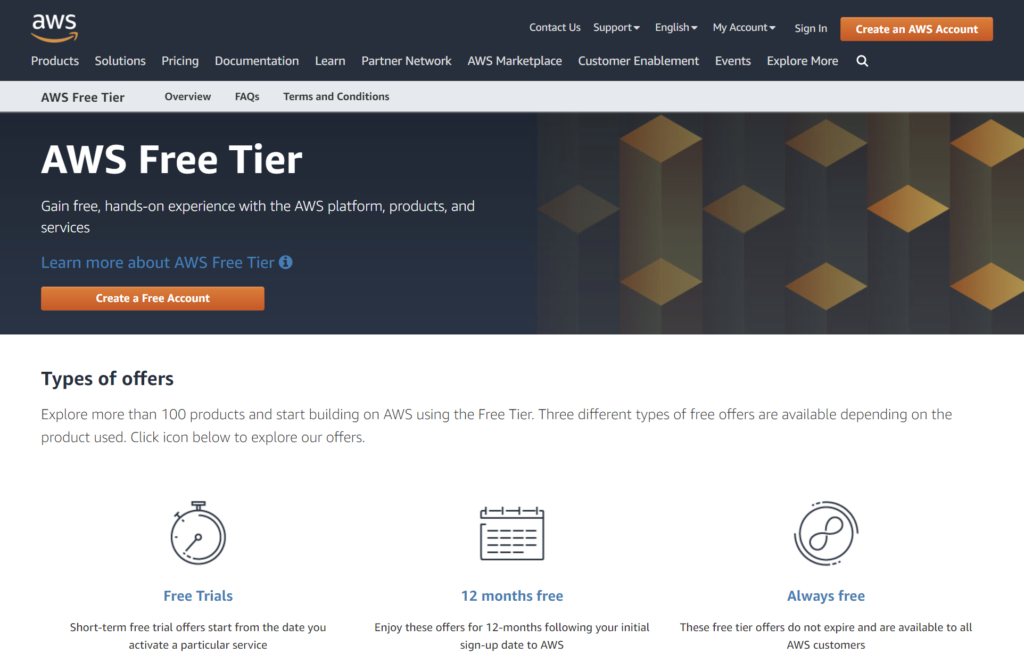
After you click on “Create a Free Account”, you’ll go through a series of forms. You will have to confirm your e-mail address, enter your credit card info (you will be charged only for services that are not covered in the Free Tier), password, etc.. and multiple security checks. A bit tedious, but easy.
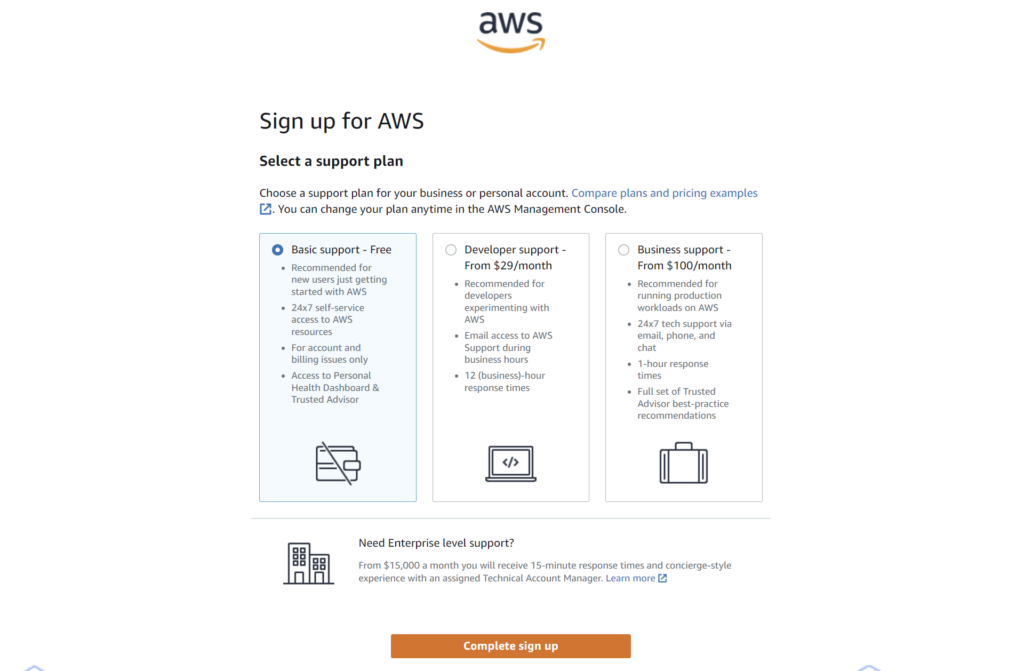
When asked to choose a support plan, make sure you opt for the free one, which should be selected by default.
It might take some time (up to 1 or 2 hours) before you receive an e-mail confirming that your AWS account request has been approved, but you don’t need to wait for it to sign in to AWS and start setting up your server.
Log in as “Root user” with the e-mail address/password given during the account set up.
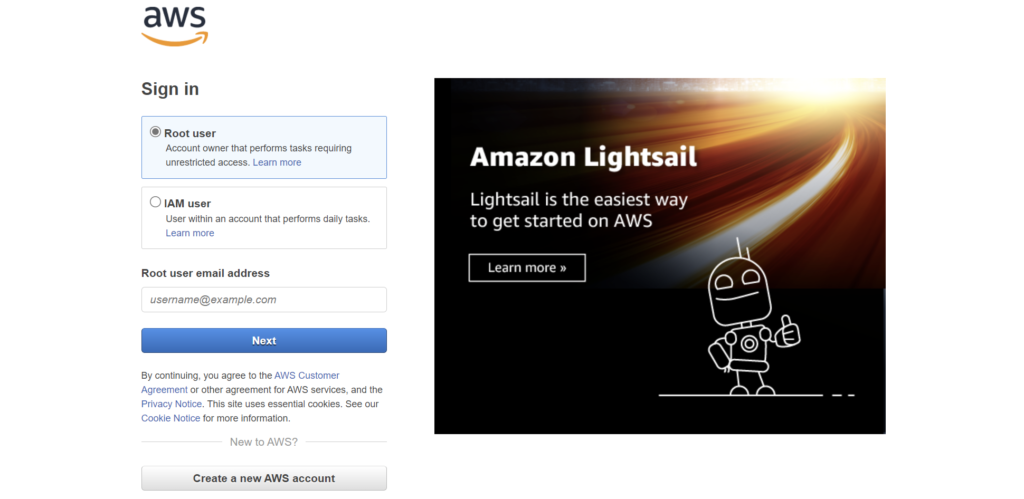
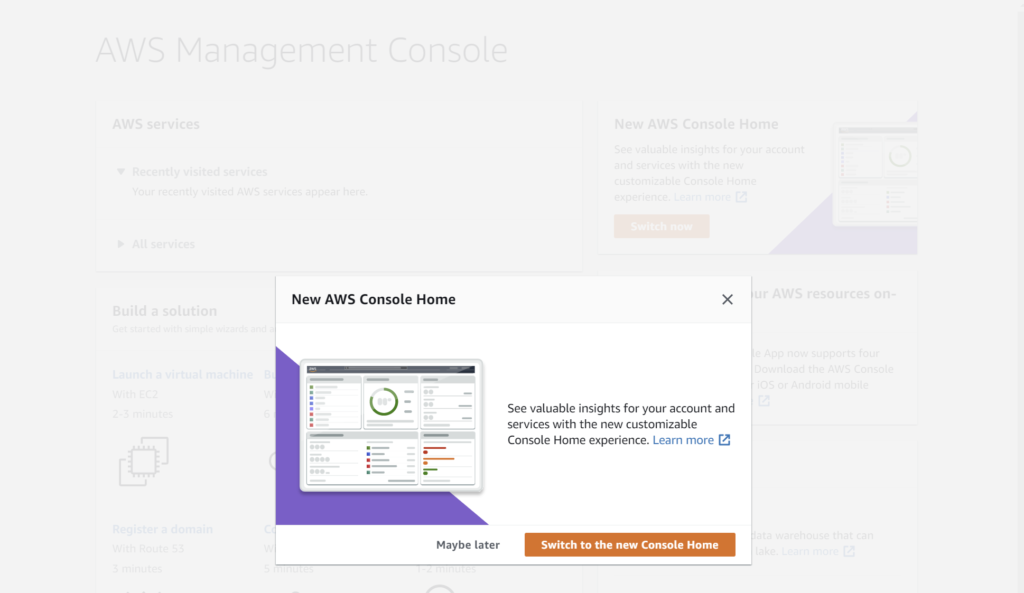
Click on “Switch to the new Console Home” and you’ll be taken to the following screen.
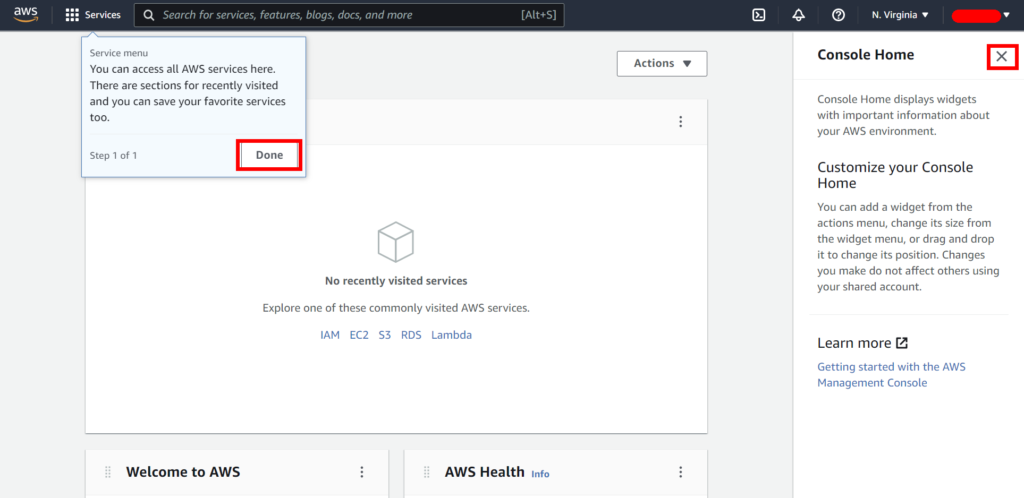
As explained in the little pop-up window, all AWS services can be accessed on the top left (click done to close the pop-up).
Many help links will open in a panel to the right of the screen. You can safely close it to have some more screen real-estate.
Just so you know, your account name on the top-right is where you can access you AWS account details, billing info, and log out.

The AWS account is now completely set up. The next step is to configure the service(s) you need.
Next: Setting up and configuring a free EC2 server
In the following part, we’ll create a virtual server using the EC2 service, which offers a Free Tier option for 12 months.
