Running commands from an SSH client might be a little intimidating at first, but it is necessary for tasks such as installing a web server on EC2.
By far the easiest way is to connect through AWS directly in the browser, but you can also use a standalone SSH client. See instructions below for PuTTY (open source, Windows).
Connection to EC2 server through SSH in a browser
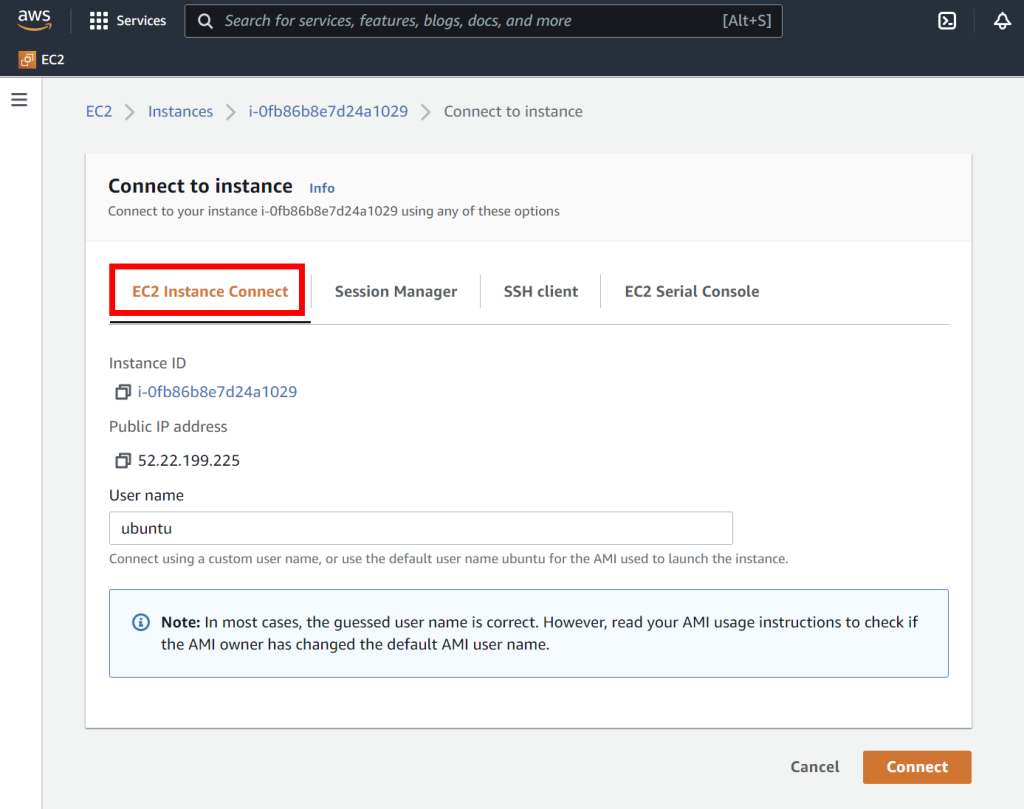
Select your instance and click on Connect button on top, or right-click on the instance and select Connect in the context menu.

The EC2 Instance Connect tab should be selected by default. If not, click on it and then on the Connect button.

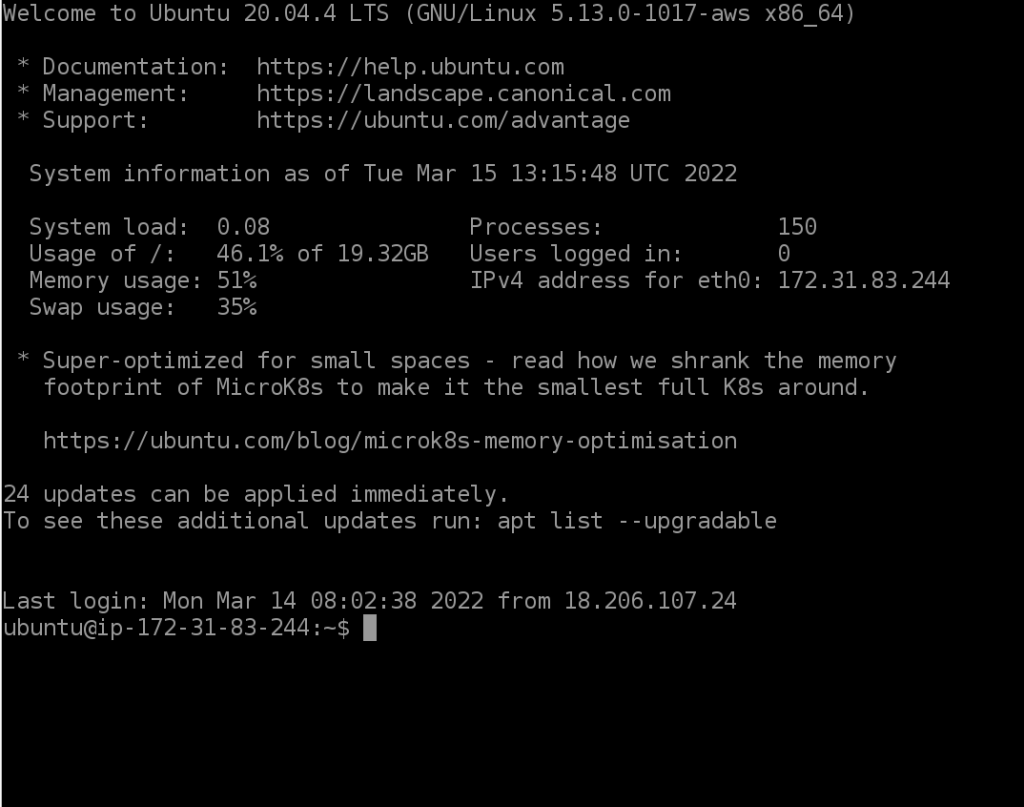
A command line window will open in a new browser tab. Once the connection is made, you’ll see some details about the server.

That’s it, you can now do whatever you need to do, such as install web server software.
Connection to EC2 server through SSH using PuTTY
You can download the free, open source PuTTY client (Windows only) from https://www.putty.org
A few entries will be added to the Windows start menu.

Remember the security key pair file you downloaded from AWS? You will need it now to connect (instead of a password). The only problem is that it is a file with extension .pem and PuTTY needs key pair files in a different format, with the .ppk extension.
PuTTYgen allows you to convert from one format to the other, so open it and load your .pem file.


Once loaded, click on the save private key button to save the file as .ppk and close the program.

Now open PuTTY (the following configuration window is displayed immediately).
In the Session tab, type your own Elastic IP and set the port to 22. Leave the default SSH connection type.

Now, expand the SSH menu and click on Auth, then Browse… to load the .ppk key pair file.

If you want to save your settings, go back to the Session window, type a name in the Saved Sessions field and click Save. The next time you use PuTTY, you can thus simply double click on the name to connect.
Now click on Open to connect to EC2.
The first time you connect you’ll see a security warning in a pop-up window. Click on Accept if you don’t want this message to appear again during future connections, otherwise Connect Once.
Type ubuntu (the default EC2 user name) and press Enter.

Once the connection is made, you’ll see some details about the server.

You are now ready to interact with your server, for instance to install web server software.
