Here are a few reasons to install CyberPanel (control panel) + OpenLiteSpeed package instead of the more well-known Apache web server:
- While it’s not the best control panel ever, the open source CyberPanel covers all the basics (FTP, e-mail configuration, multiple domains,…) and many advanced options, such as free SSL certificates in one click, all in a nice looking and easy to navigate interface.
- OpenLiteSpeed is a very reliable web server and, as its name suggests, lightweight and fast.
- This solution includes an e-mail server, which otherwise would be a real pain to install and configure.
- Last but not least, all of is installed at once, which is very convenient.
Detailed info and docs can be found on the CyberPanel website. While I recommend you take a look at the documentation, you don’t even need to visit their website to follow along, as I’ll go over everything you need to configure.
Prerequisites
To install CyberPanel and OpenLiteSpeed, you’ll need to connect to your EC2 server with SSH. Learn how to do it here.
First of all, we can check if there are updates for the Ubuntu operating system and install them automatically. Enter the following and press Enter.
This, and all other commands mentioned, can be copied/pasted instead of typed manually. To paste in the AWS command line browser window, use the shortcut Ctrl + C. To paste in PuTTY, it’s a simple right-click.
sudo apt update && sudo apt upgrade -y
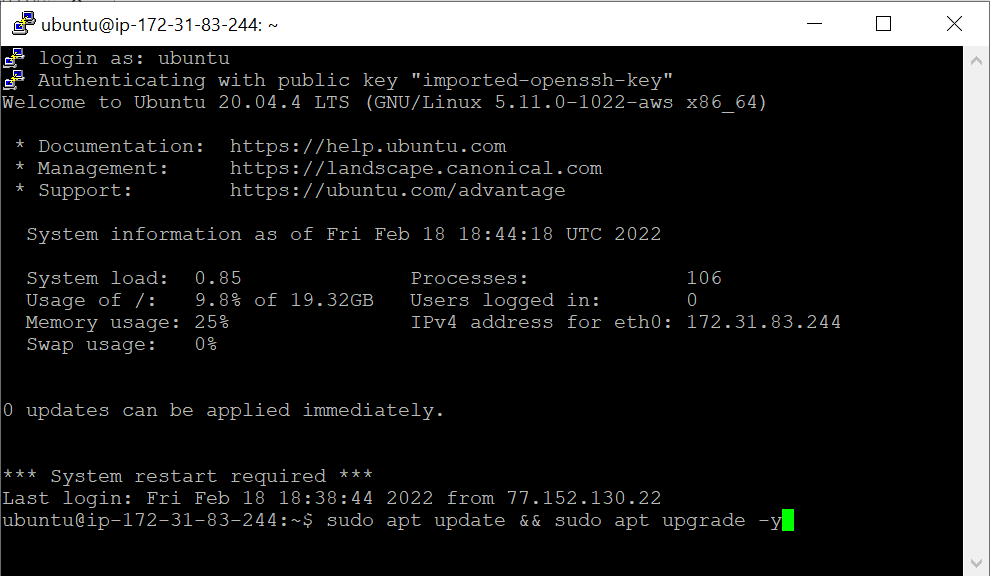
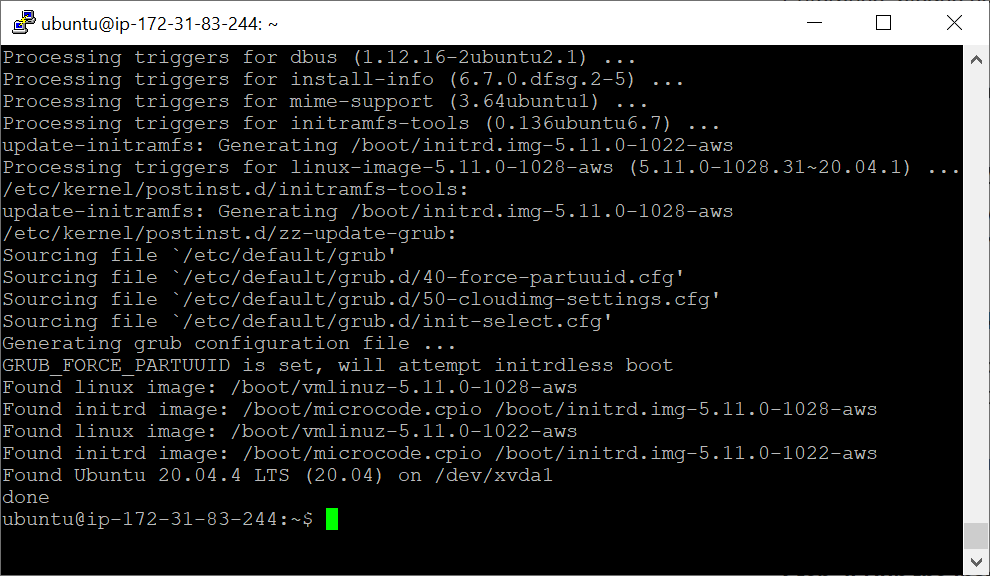
It might take a few minutes to update everything.
To install CyberPanel and OpenLiteSpeed, you first need full, or “superuser”, access to the server. To change the user from ubuntu to root, use the following command.
sudo su -
You will notice the changed username at the beginning of the row.

Installing CyberPanel + OpenLiteSpeed
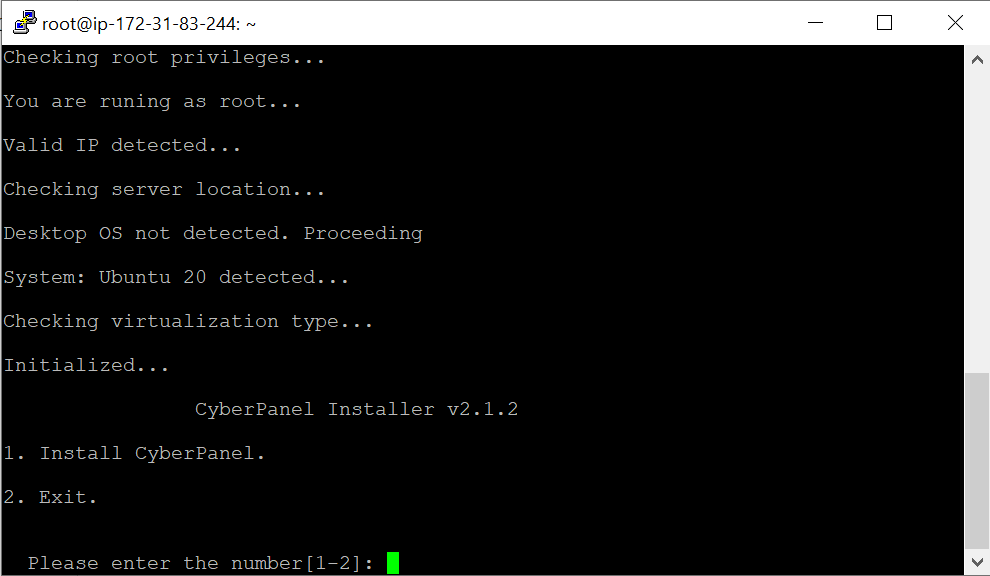
Use the following command to install CyberPanel and OpenLiteSpeed.
sh <(curl https://cyberpanel.net/install.sh || wget -O - https://cyberpanel.net/install.sh)
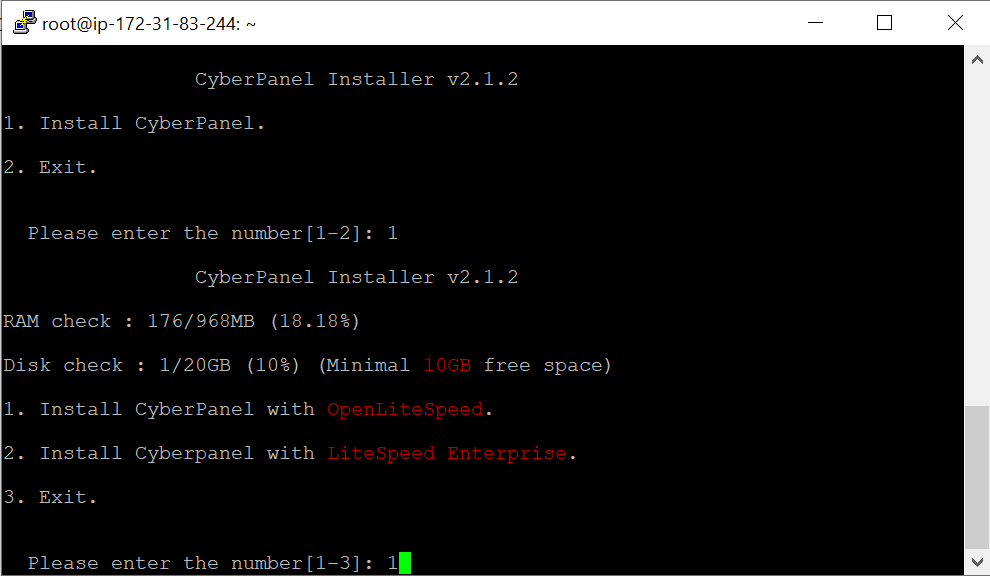
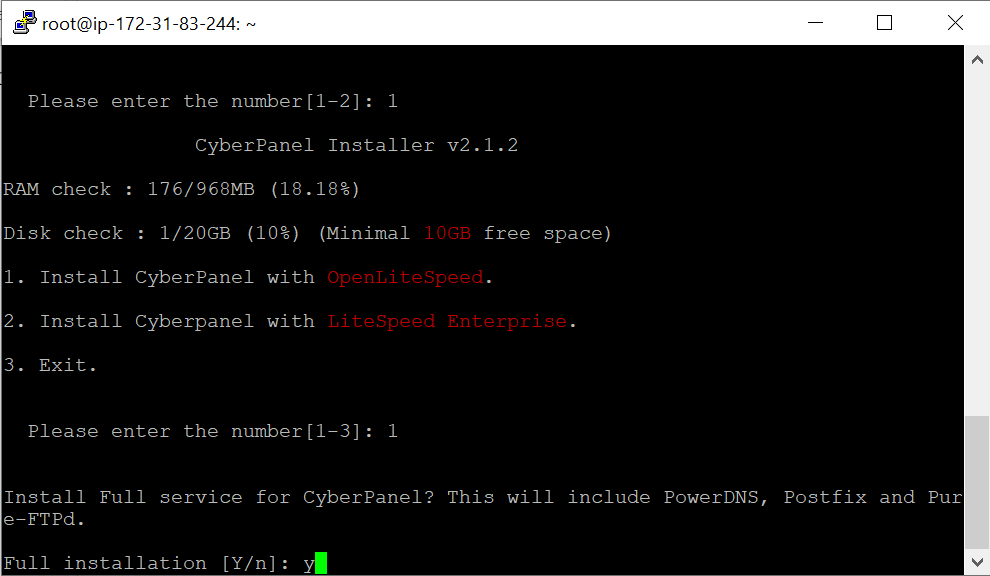
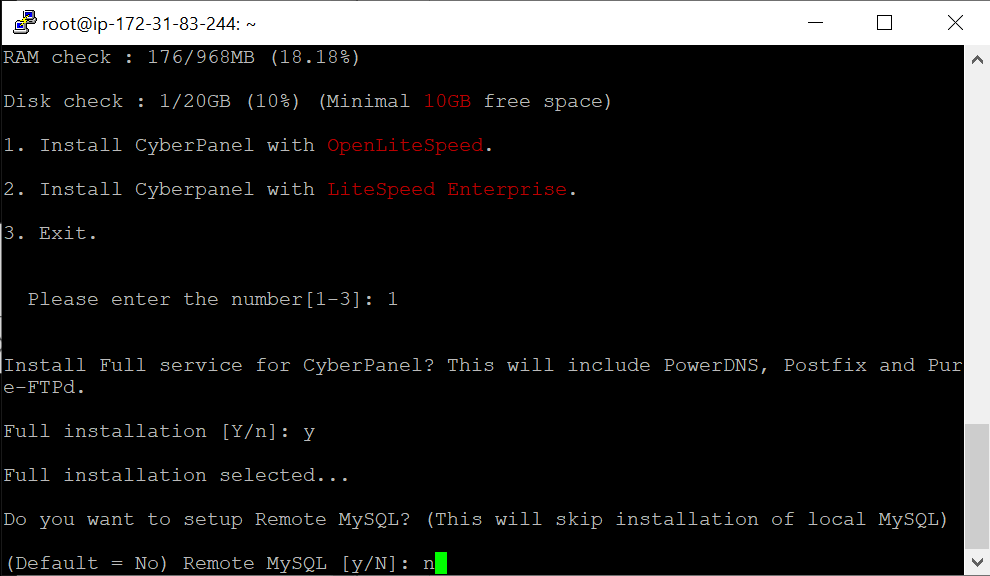
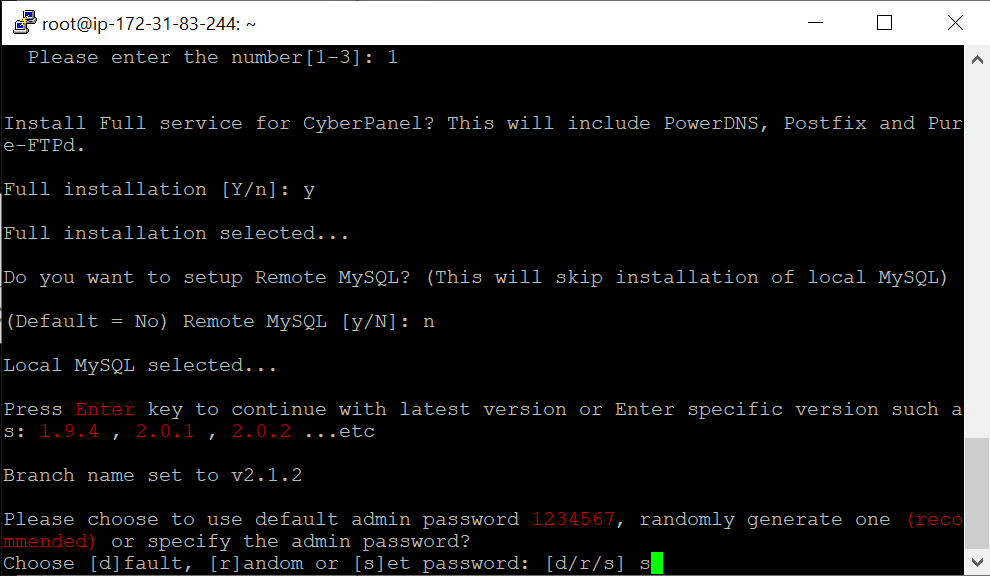
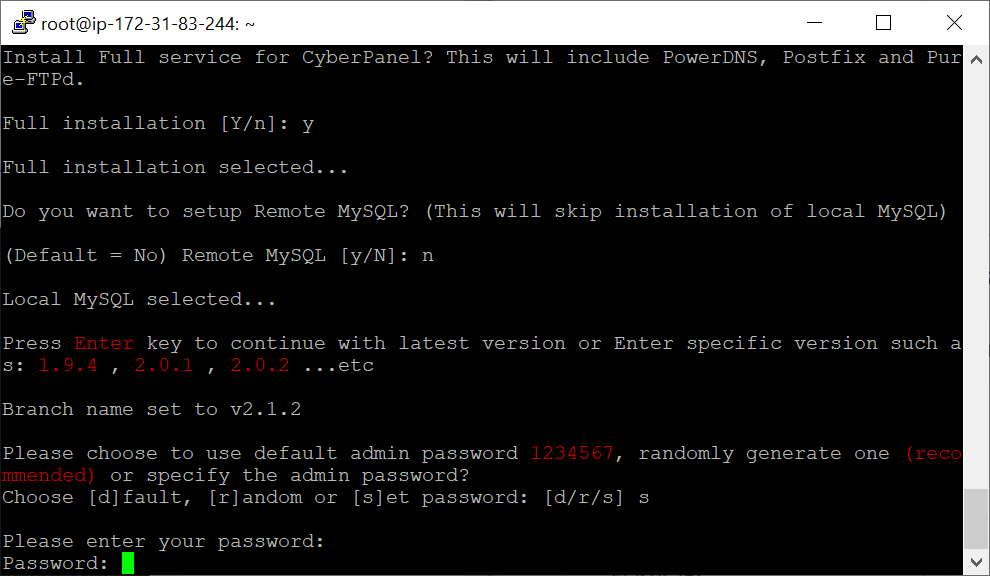
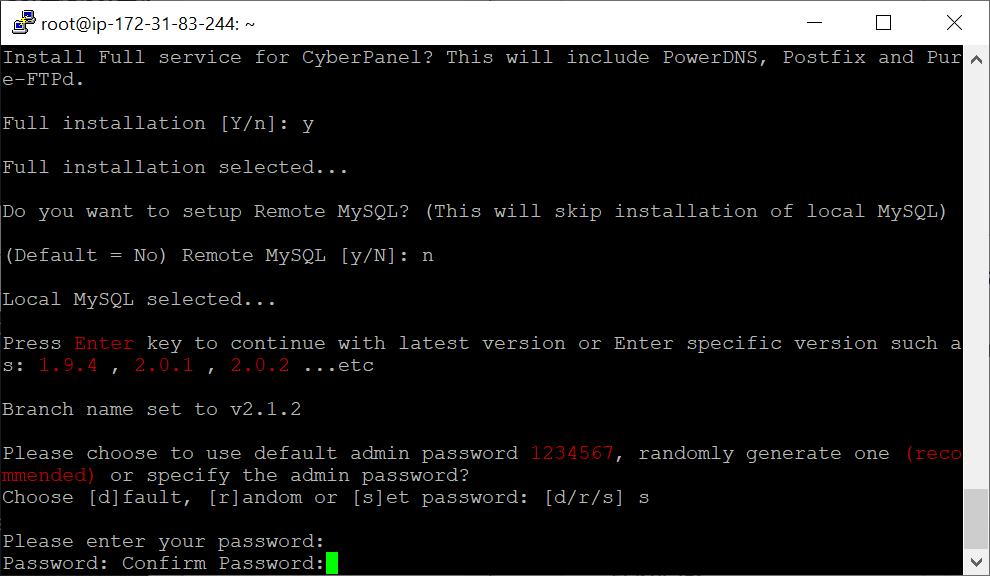
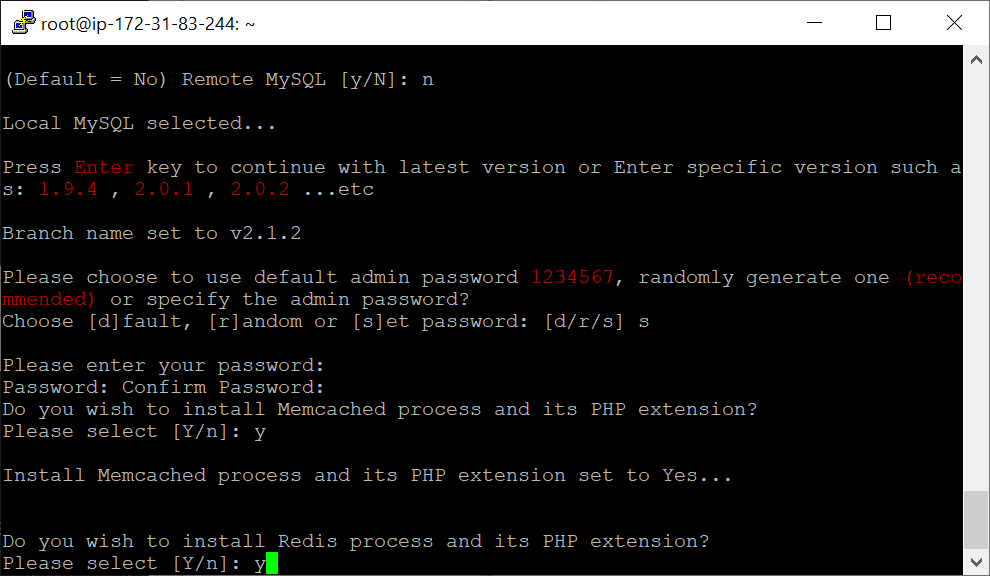
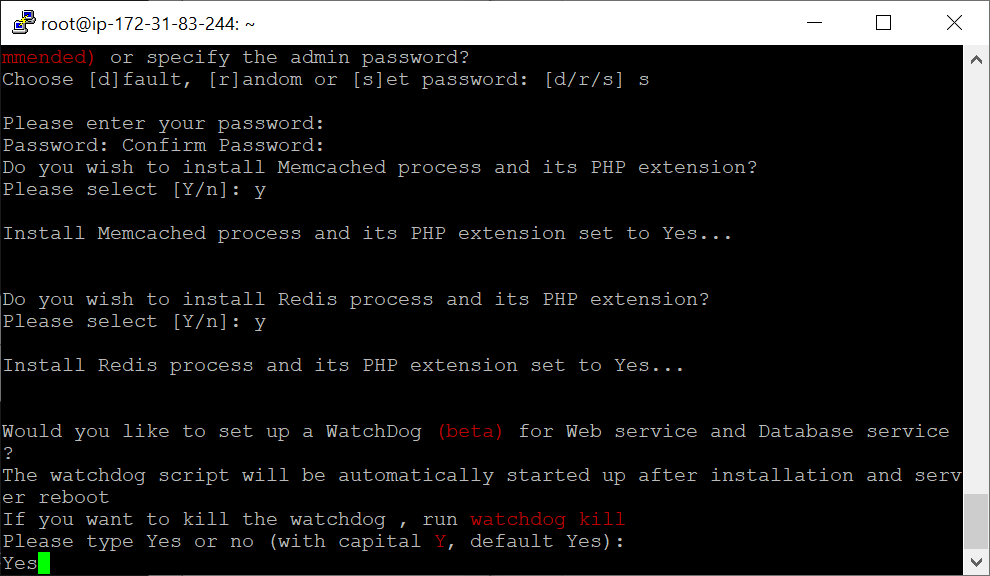
You’ll be asked a few questions during the installation. Just follow the instructions below each one of the following screenshots.
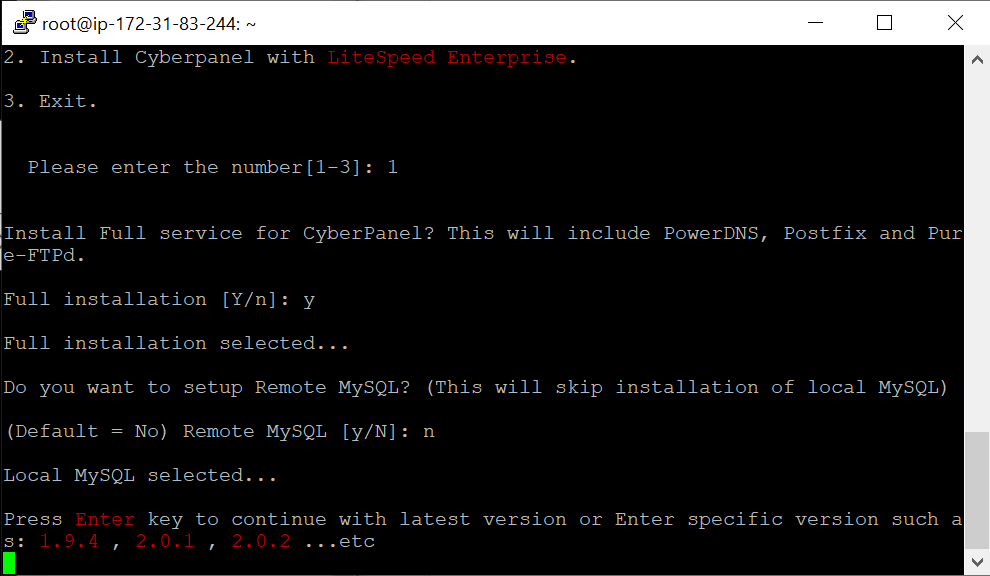
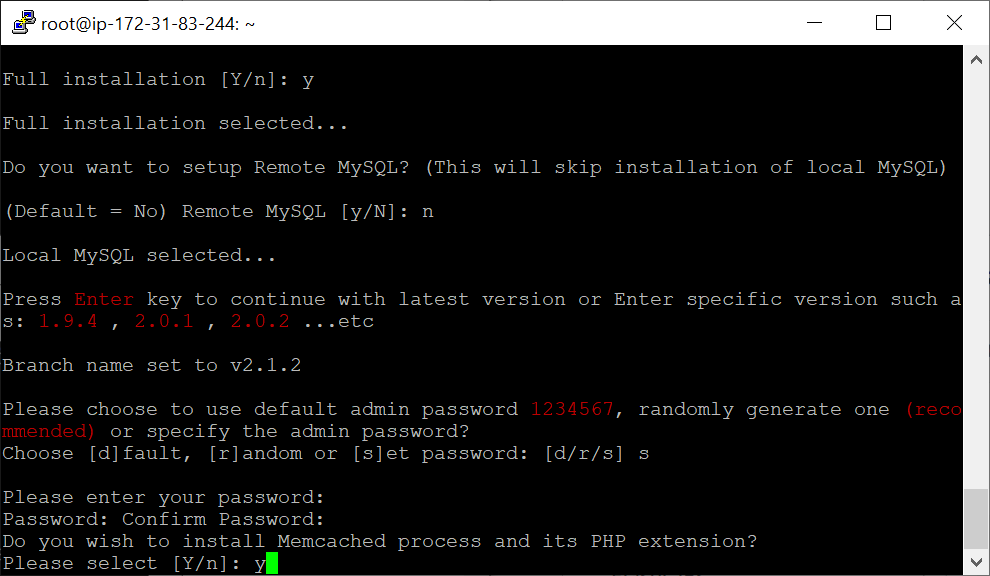
The installation will then start and should take around 10 minutes.
At this point, you could lose the SSH connection. The server could also be inaccessible when typing your Elastic IP in a browser, even after a few minutes.
If that happens, just go to AWS to stop and then start my EC2 instance (restart might not work, but feel free to try it).
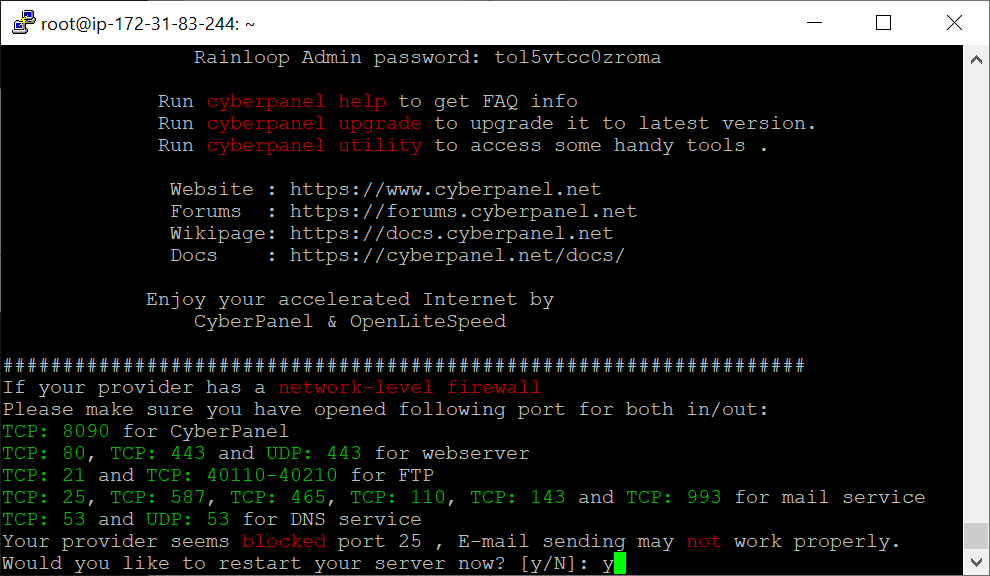
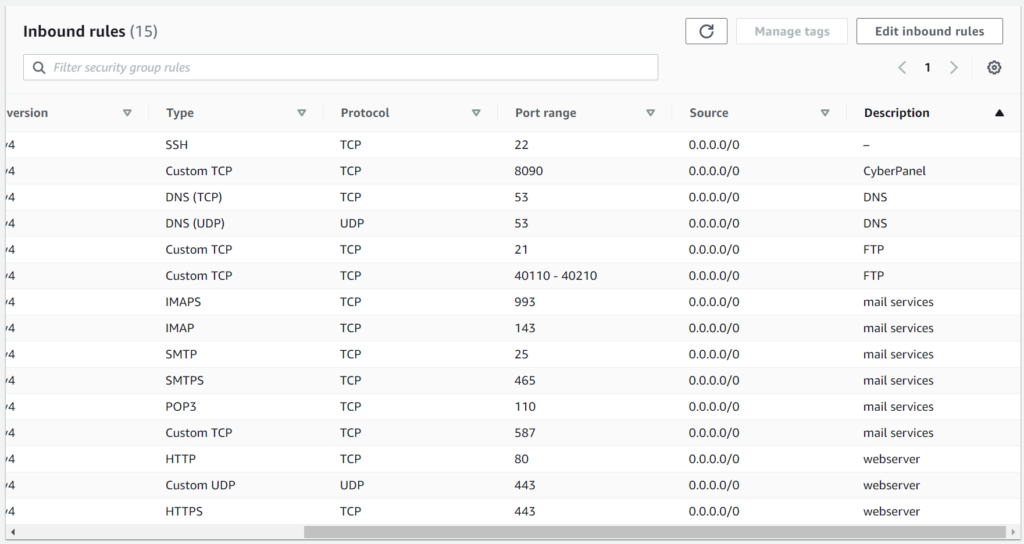
As shown in this last screenshot, there are quite a few ports than need to be opened in your EC2 server for everything to work properly.
Before you forget (it happened to me the first time I set up CyberPanel on AWS), open all those ports, just as when you opened the HTTP(S) ports (as explained in a previous article).
This is the full list of ports that should be open. The descriptions are optional, but I think it’s good practice to add them, for later reference.
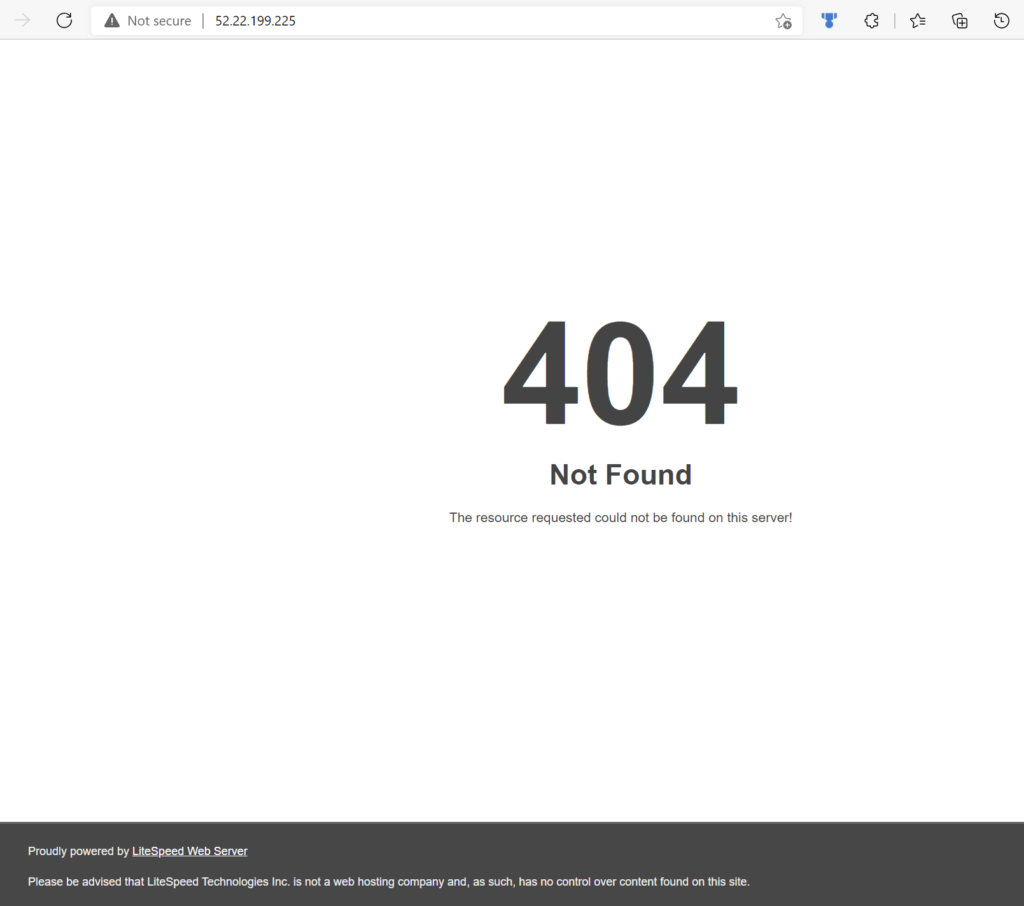
After that, entering the Elastic IP in a browser returns the following page. There is obviously still no content, but it confirms that the server is running.
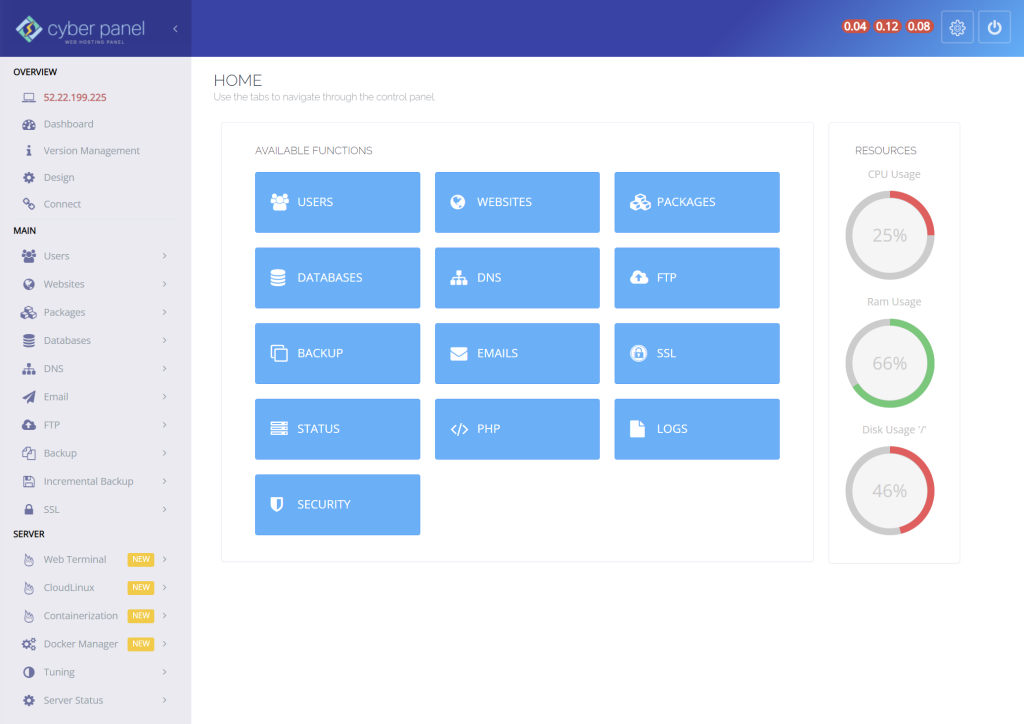
Accessing CyberPanel
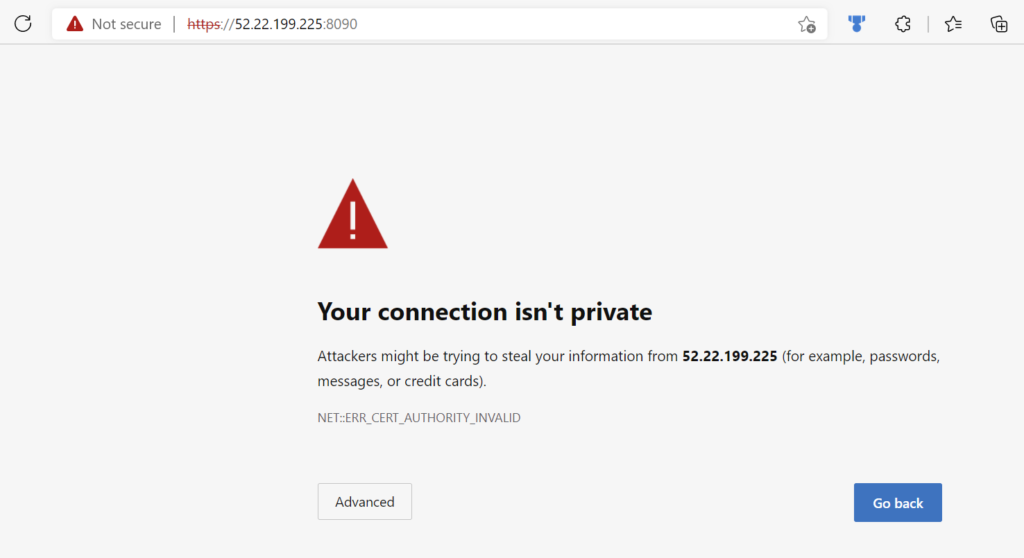
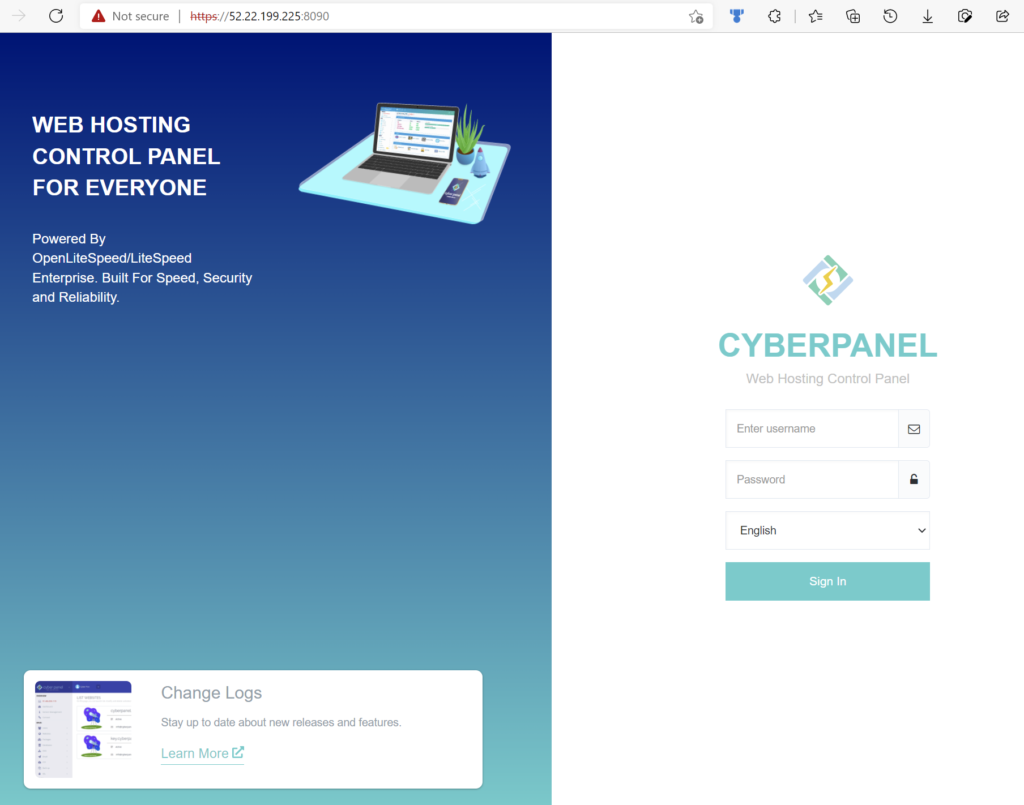
CyberPanel is accessible through the port 8090, which means you have to type either https://yourElasticIP:8090 or https://yourDomainName:8090 to open it.
No domain name is linked to this server yet, so you have to use your Elastic IP.
Also, since there is still no SSL certificate, you’ll get a warning when trying to access it through HTTPS.
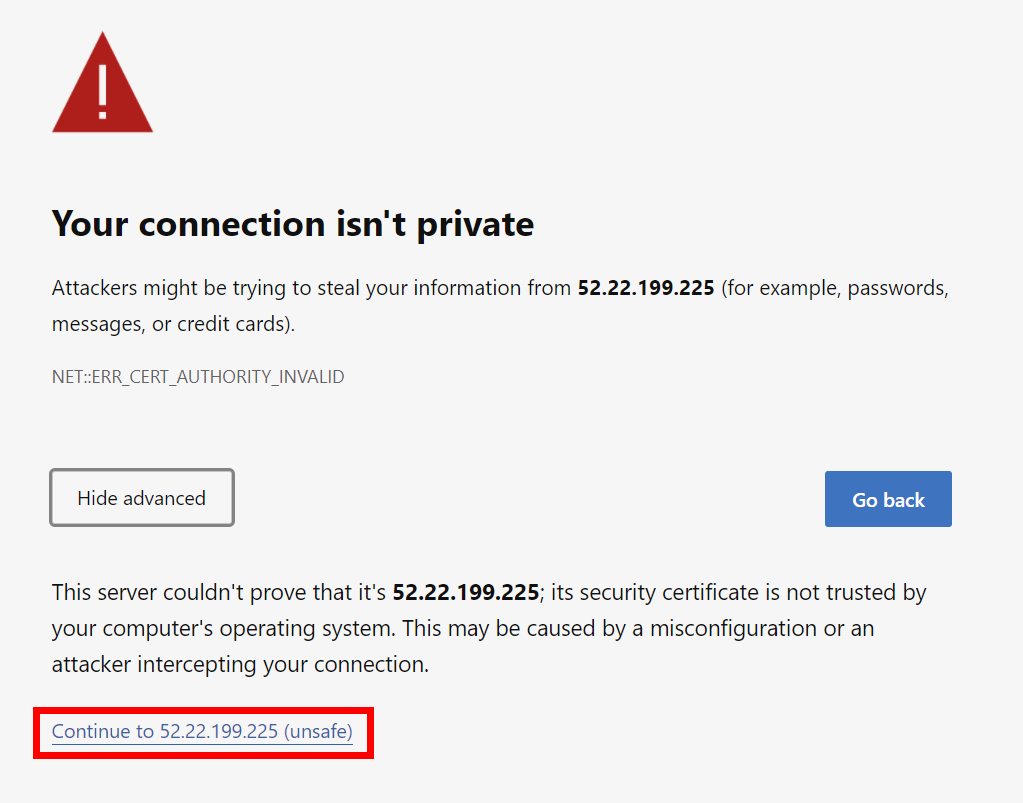
Click on the “Advanced” button and then on the link marked as unsafe. Obviously, you’ll see your own Elastic IP, not the one used in this test server.
To log in, the username is admin and the password is the one you’ve chosen during the installation.
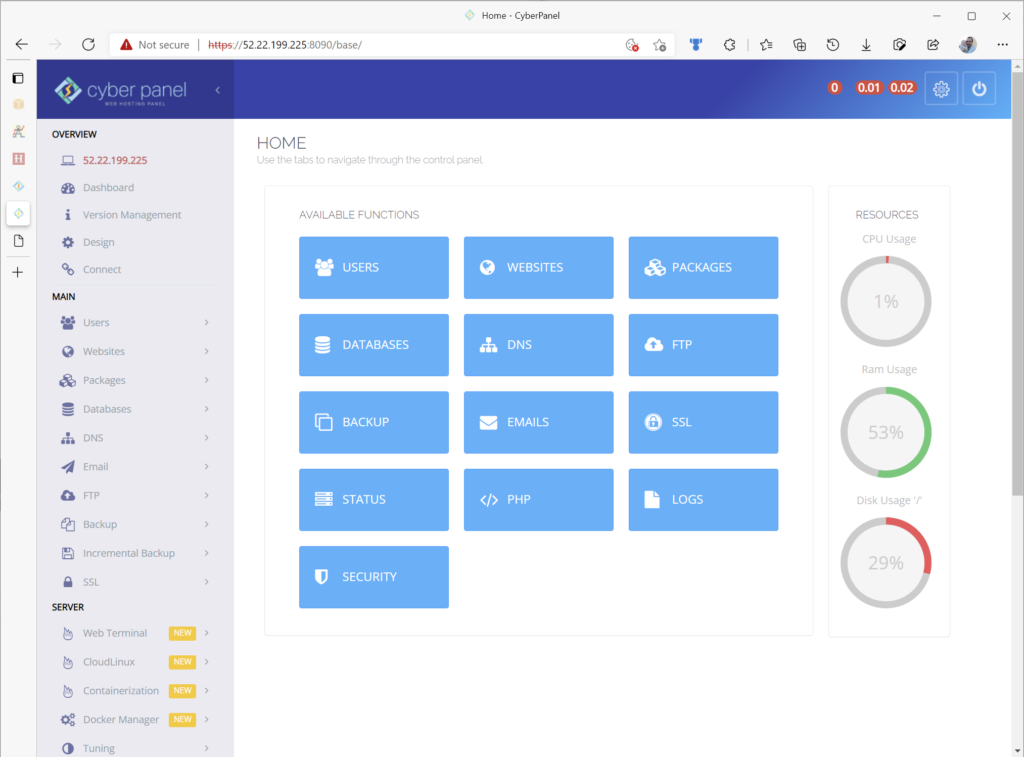
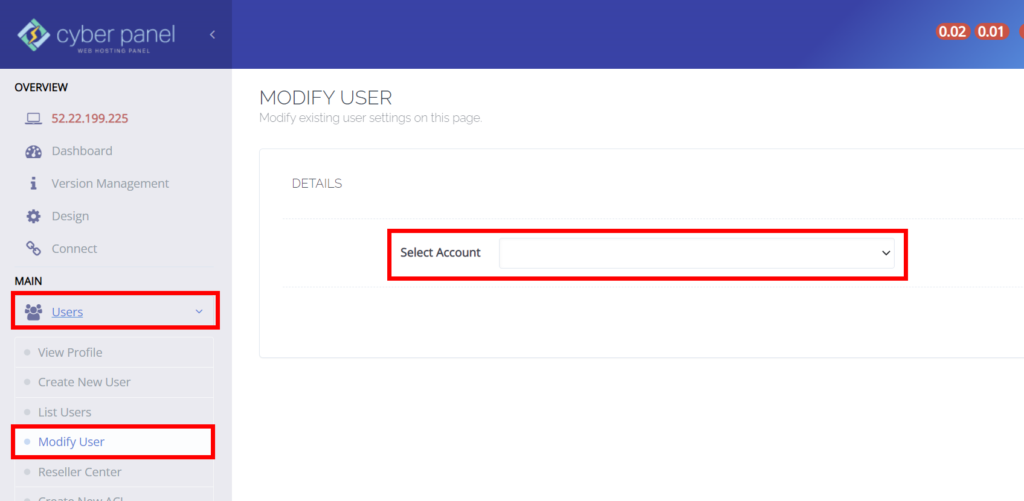
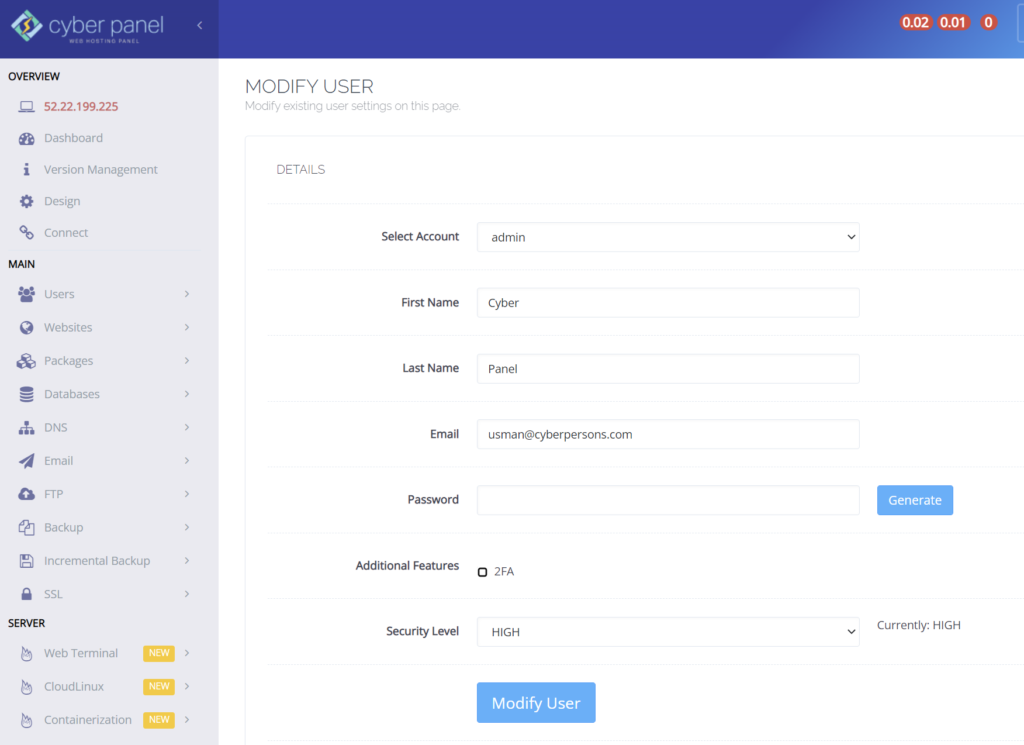
If you want to change your admin password and details, you can do it from the Users menu.
Next step: Linking your domain name
In the next article, you’ll learn how to set up name servers and your DNS records, in order to link your domain name to your server.