
In this article, you will learn how to:
- Create a website in CyberPanel
- Add name servers
- Change your domain name(s) DNS records
- Issue an SSL certificate to enable secure web browsing (HTTPS)
Create a website in CyberPanel
A website in CyberPanel is not the content itself, but rather like a container to which your domain will be linked, and is therefore essential.
It’s pretty straightforward, as there is only a single form to fill in.
I recommend you to check CyberPanel’s documentation for full details, but just so you know, a package is like an account. That allows you to completely segregate groups of websites, users, e-mail addresses,… There only one package by default and there is no need to create another one unless, for instance, you want your server to host someone else’s website(s).
Thus, unless you have specific needs, just select the Default package and Admin user, type your domain name and e-mail address. Leave SSL unchecked (you can’t have a proper SSL certificate until your domain is linked, see below), and check DKIM Support (very important for e-mail so mails are recognized as non-spam).
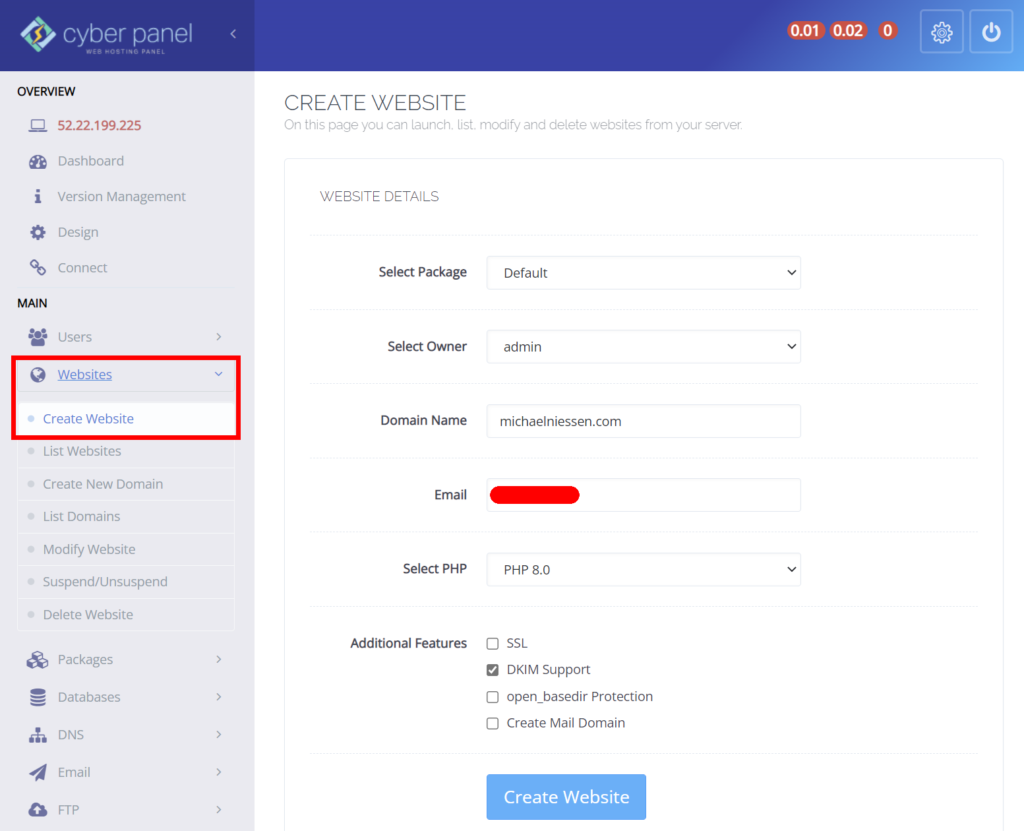
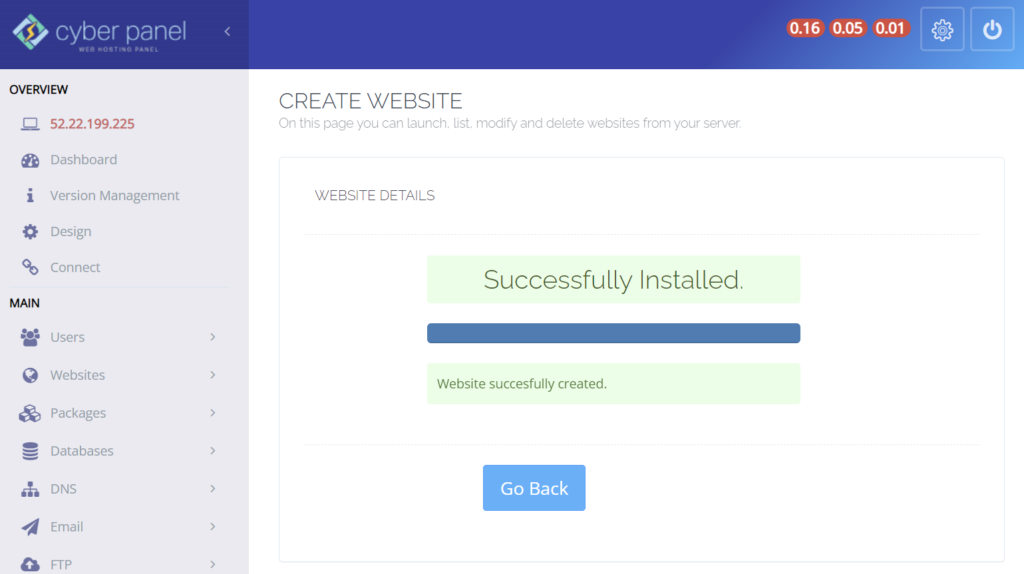
It will take just a moment after you click on Create website for it to complete.
Create name servers in CyberPanel
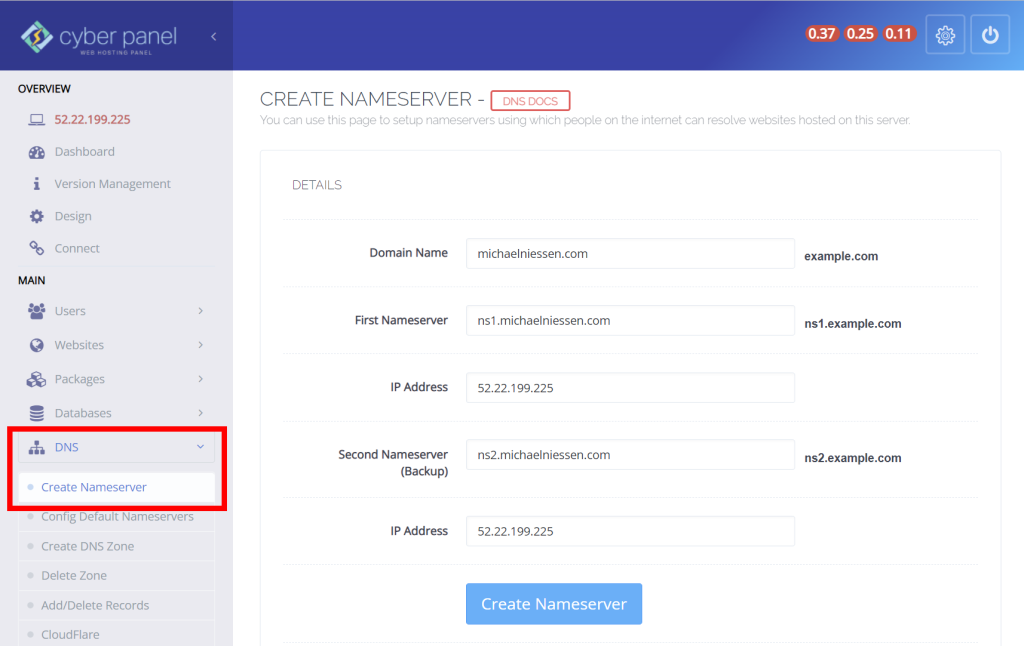
Name servers are used to direct web traffic from your domain name(s) to your server.
In CyberPanel, go to the DNS menu and click on “Create nameserver” and fill in the form.
The name servers don’t have to be prefixed with ns1 and ns2 (you could choose mickey and minnie, for instance), but those are easy to remember and kind of standard choices. The IP address is the same for both name servers: your Elastic IP.
Change the domain name’s DNS records
This is the only part of this series of articles where you might have to find your own way, because it depends on your domain name registrar.
That said, the settings’ names (manage DNS, Host Names,…) are similar no matter what registrar you use, so it shouldn’t be very difficult.
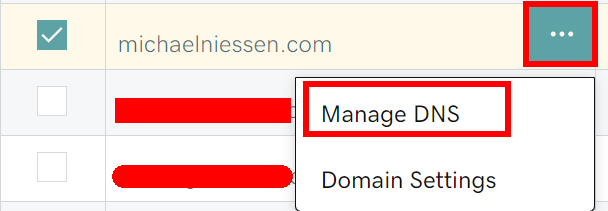
The following screenshots are from GoDaddy, where the domain used in this example is registered.
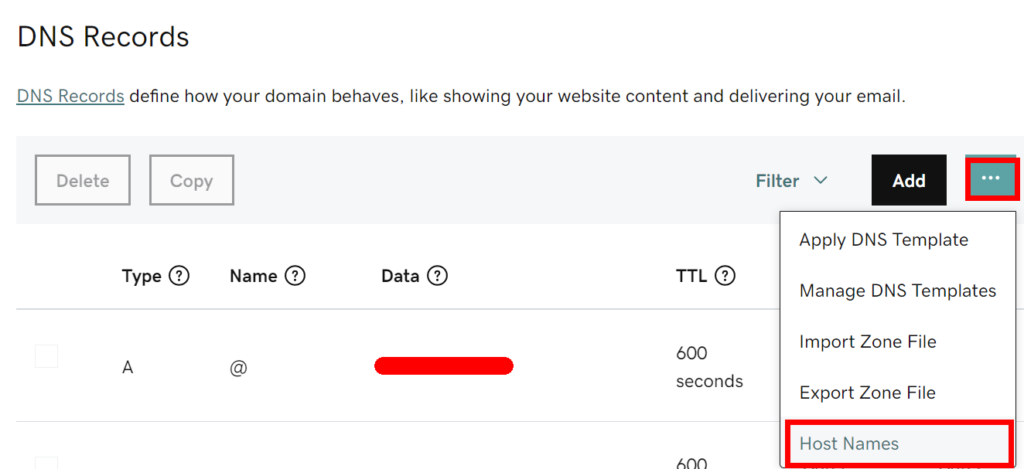
In the My Domains page (https://dcc.godaddy.com/domains), check the domain that you want to edit, open the menu and select “Manage DNS”.
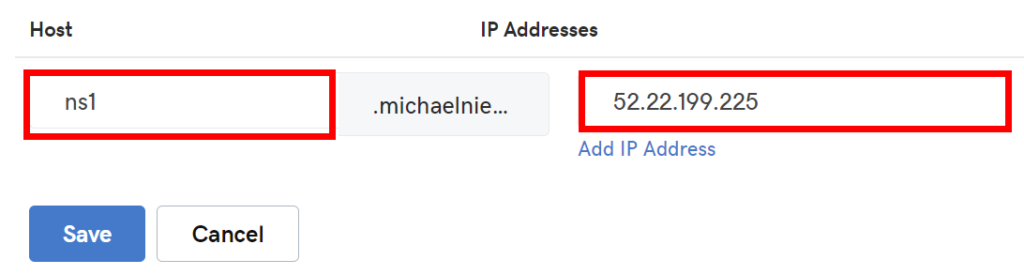
First, you need to add host names (IP addresses for the name servers previously created in CyberPanel).

Add 2 records, one for each of the prefixes of your name servers (ns1 and ns2, or any other names you chose) and, again, the IP address of your server.
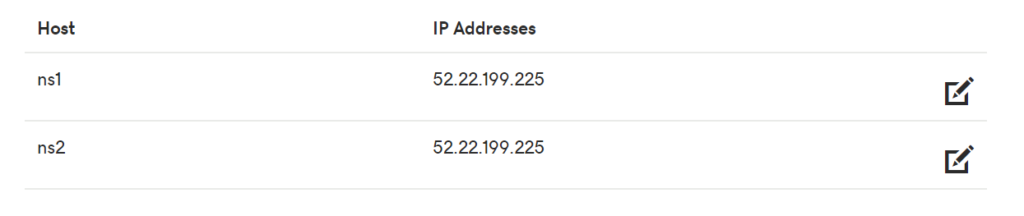
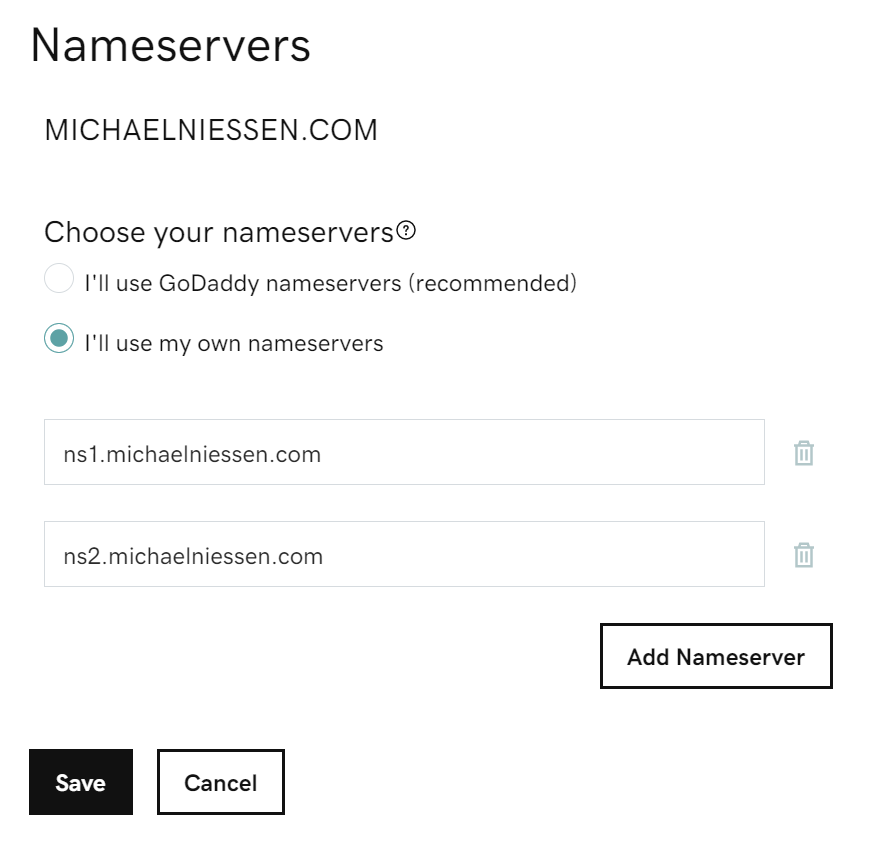
Once both hosts are created, back in the My Domains page, check the domain and update the nameservers.
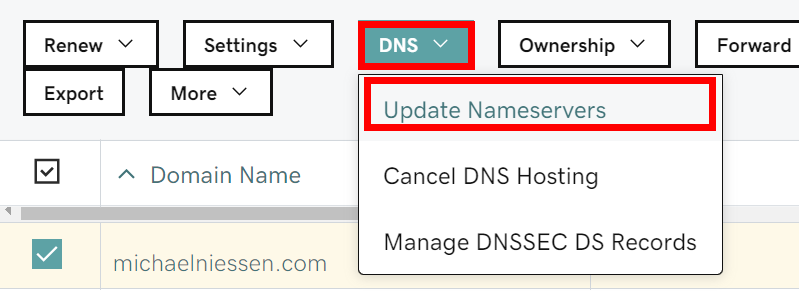
Choose “I’ll use my own servers” and fill in the two fields, then click “Save”.
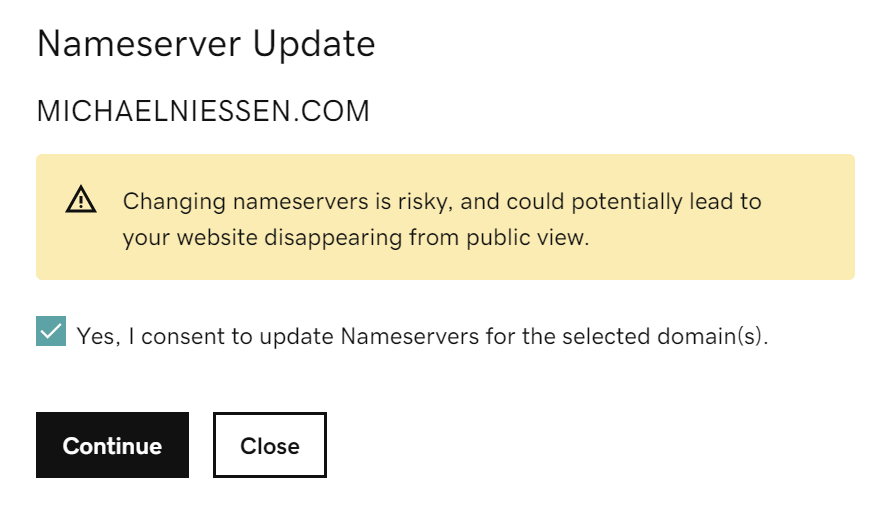
Confirm the change and click on “Continue”.
That’s it as the domain registrar is concerned. It take some time for the change to take effect, so if you enter your domain name, you’ll see something like this.
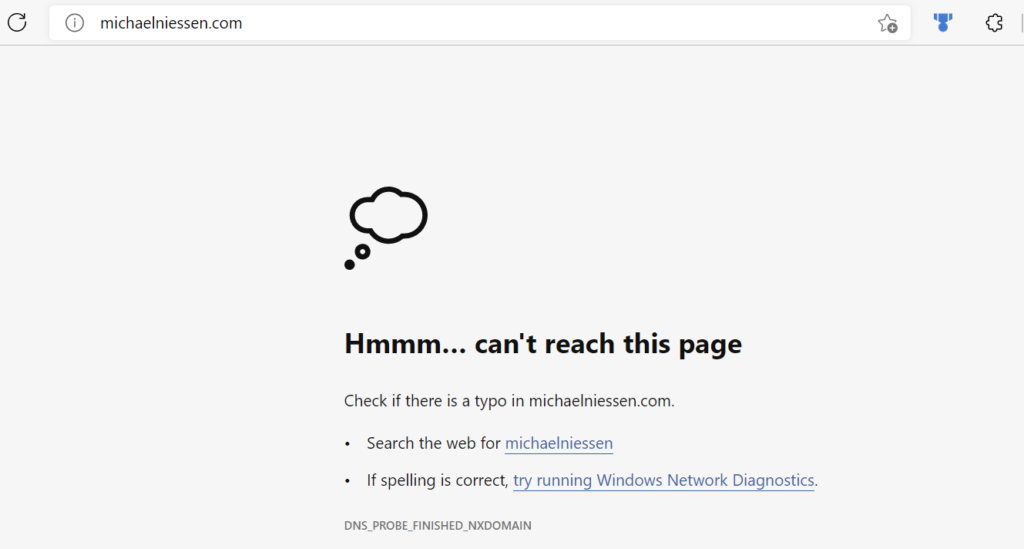
If you just bought your domain name and depending on your registrar, the DNS change might take only a few minutes. If it was previously directed to another server, though, it might take hours before it is properly redirected. From my experience, it usually takes at most 5 or 6 hours, but don’t worry if it takes longer (up to 24h or even 48h in rare cases).
Issue an SSL certificate
In CyberPanel, the issuance of SSL certificates through Let’s Encrypt is done in one click, but you can’t do it unless your domain name resolves properly (i.e. is recognized and links correctly to your server).
Actually, to be precise, an SSL certificate can be issued before then, but it will be a self-signed certificate, which is not recognized as secure by modern web browsers.
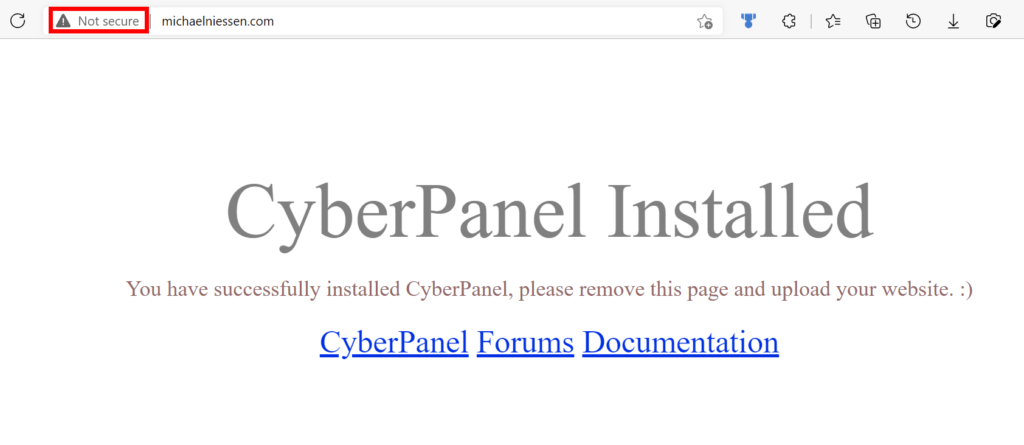
You’ll know that your domain resolve properly when you type your domain name in a browser and see this page.
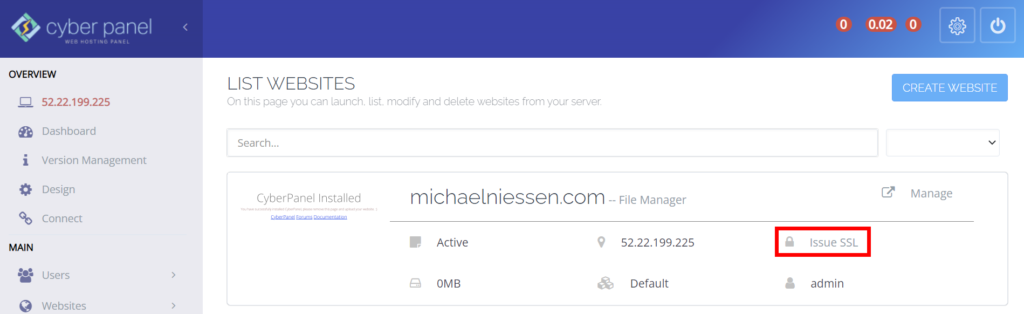
Select List websites in the Websites menu and then click on Issue SSL.
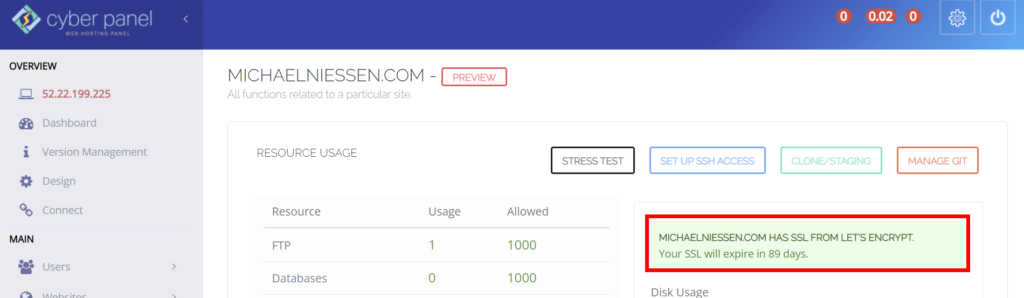
After it is installed, you can see details about the certificate in the Manage page.
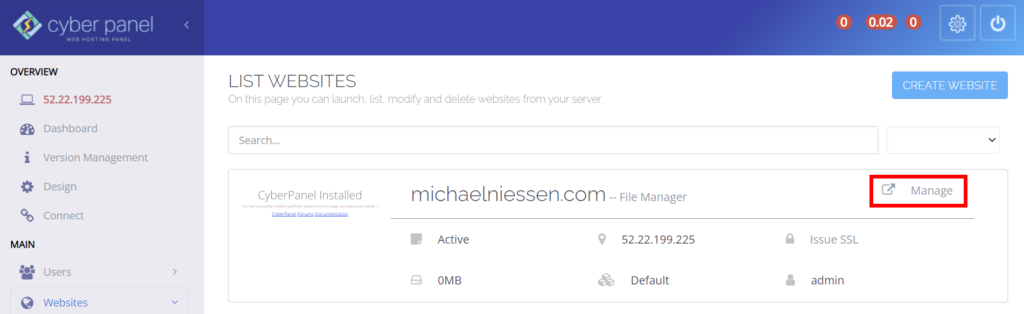
By the way, the Manage page is also where you can find many common tasks, such as installing WordPress and creating cron jobs, FTP accounts, sub-domains, etc. But that’s for later.
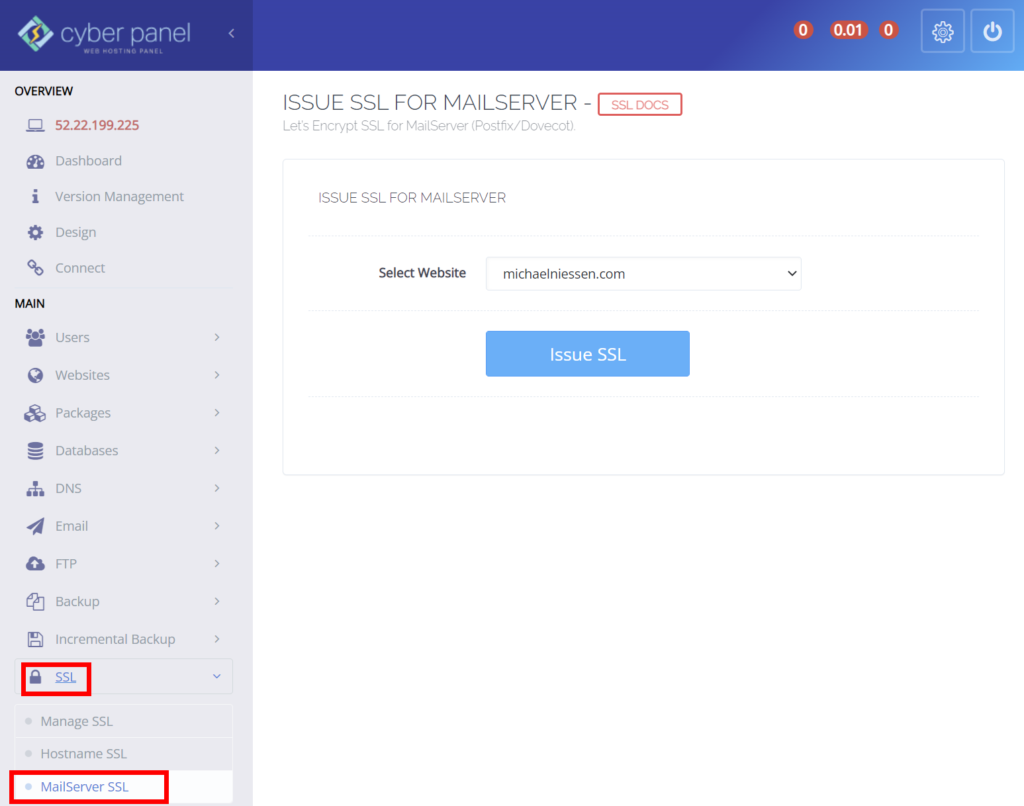
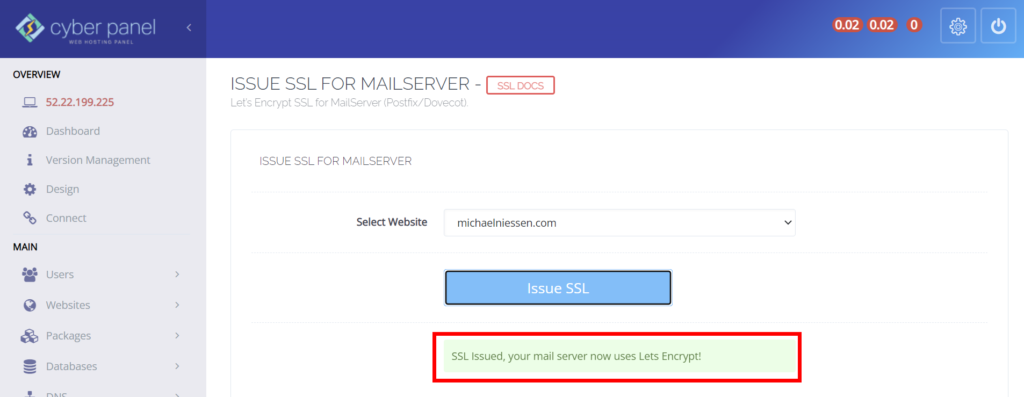
While you’re at it, you can already issue an SSL certificate for the mail server.
Configuring more than one website
If you want to host multiple websites on one server, repeat the steps above for each website, except the creation of nameservers. The same nameservers can indeed be used for more than one website on a single fixed IP address.
Next step: e-mail configuration
The server is basically ready now, but there is still one important thing to configure.
In the following article, you’ll learn how to configure the EC2 server so you can send e-mail through it. We’ll also see how to create e-mail addresses in CyberPanel, which is very easy.